
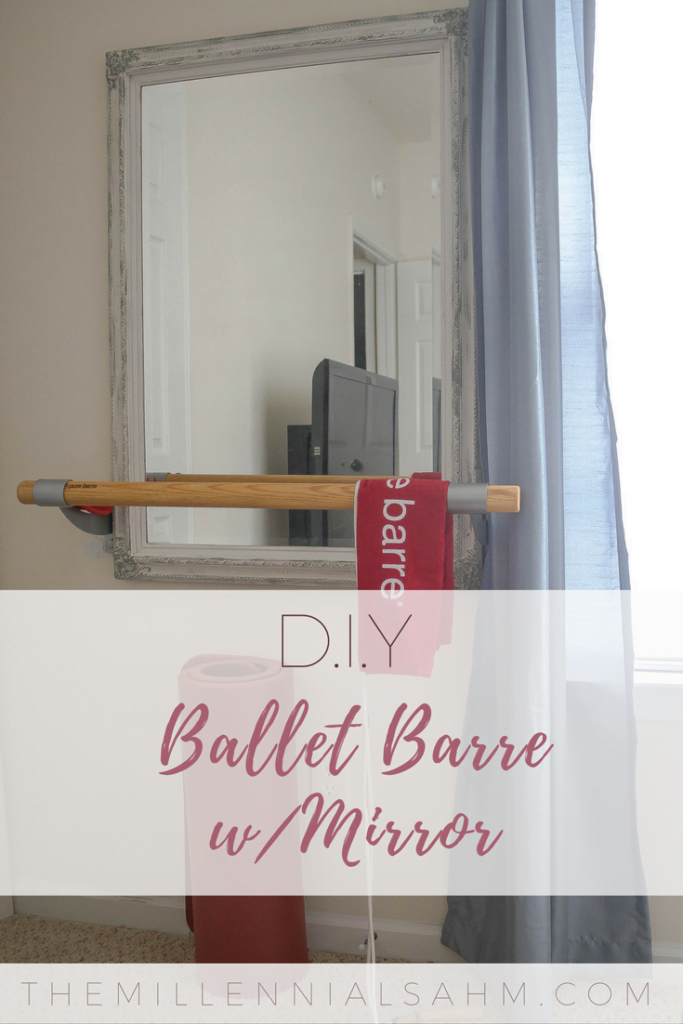
DIY Ballet Barre
Before I was pregnant with Judah, I took Pure Barre Classes religiously! Since deciding to stay home, it didn’t seem wise to continue paying for a class that I wouldn’t be able to attend – so we created our own diy ballet barre.
While some links in this post contain affiliate links (which means I may receive a commission if you make a purchase) all opinions are my own. Thanks so much for supporting me! To learn more, check out my Disclosure and Privacy Policy.
Okay so I must say that this is legitimately one of my favorite DIY’s that we’ve done to date!
Before I was pregnant with Judah, I took Pure Barre Classes religiously! Since we made the decision for me to stay home, it didn’t seem wise to continue paying for a class that I wouldn’t even be able to attend.
Anywho,
My home barre was inspired by Bless’er House’s DIY Ballet Barre and How To Hang A Heavy Mirror.
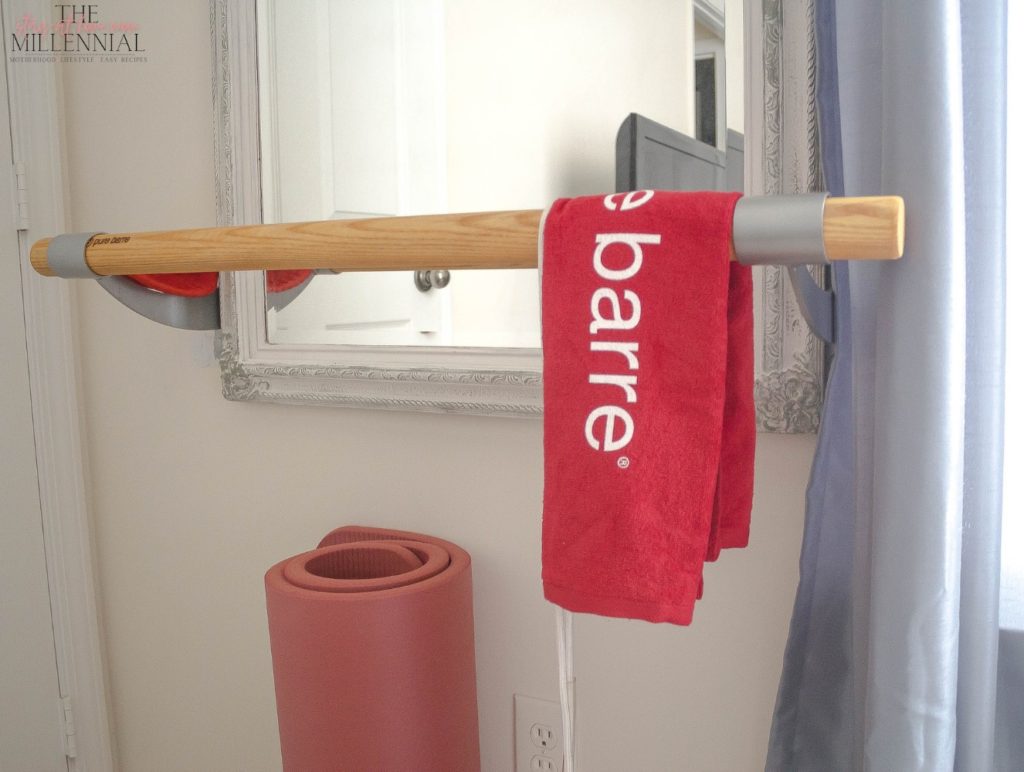
I had my barre for a while but I didn’t want to put it up until I found the ‘perfect mirror’. I loved the antique style of the mirror that Lauren used and I knew that I wanted to duplicate the look for a smaller space.
Luckily, my hubby and I came across this mirror at our local thrift store for 35 bucks!
What You’ll Need:
- Barre ( I ordered mine from Pure Barre’s online shop)
- Mirror
- Power Drill with 3/16″ Drill Bit
- 7/16″ Wrench (Socket / Ratchet preferred)
- Heavy Duty Single Hole D Rings
- Stud Sensor
- Four 1/4″ washers
- Four 1/4″ lag bolts
Before you install your barre, you want to find where the studs are in your wall and mark those.
If you have trouble finding the studs in your wall, you could try to install a 1″ X 6″ backing board.
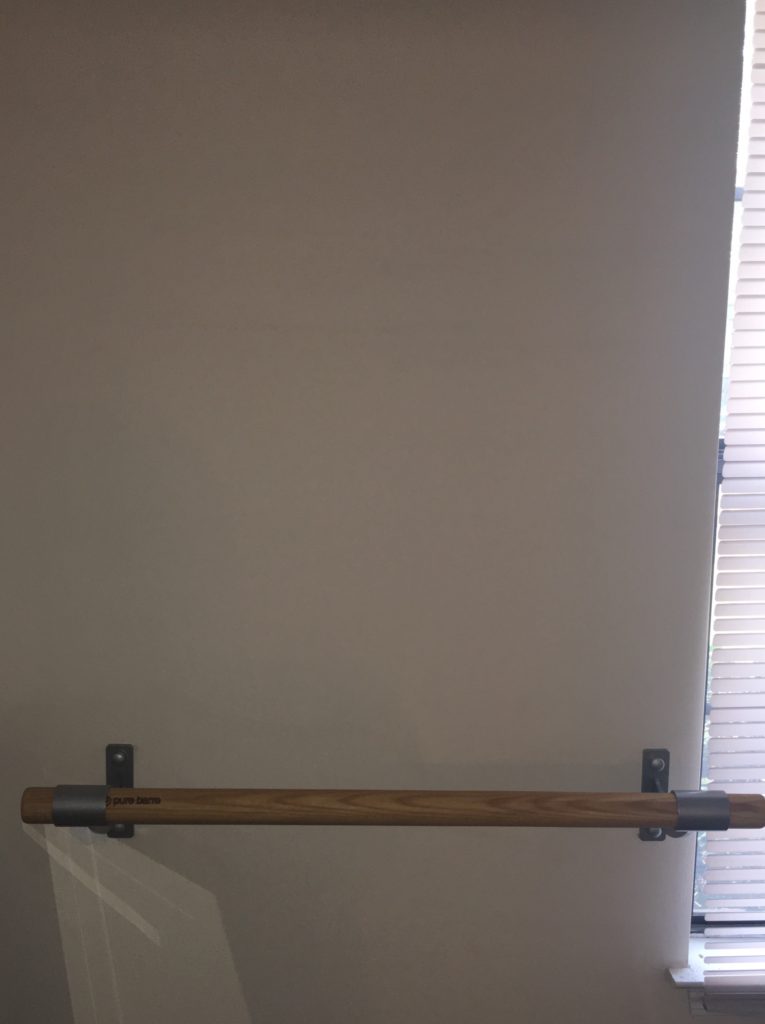
Next, I held the barre and bracket assembly up to the wall waist high and my hubby marked through the bracket mounting holes.
Once you’ve got your holes marked where you want your barre, drill a 3/16″ pilot hole into those spots.
Next, the hubby installed a 1/4″ washer and lag bolt for each of the 4 holes. My particular barre came with caps to place on to the exposed bolt heads that were used on the brackets.
Once that’s done, it should look a little something like this.
Time To Hang the mirror
The Hubby installed 3 D-rings at the top of the back of the mirror. Then he nailed 3 holes in the wall, with the two outter nails nailed into the same studs that the barre was installed into.
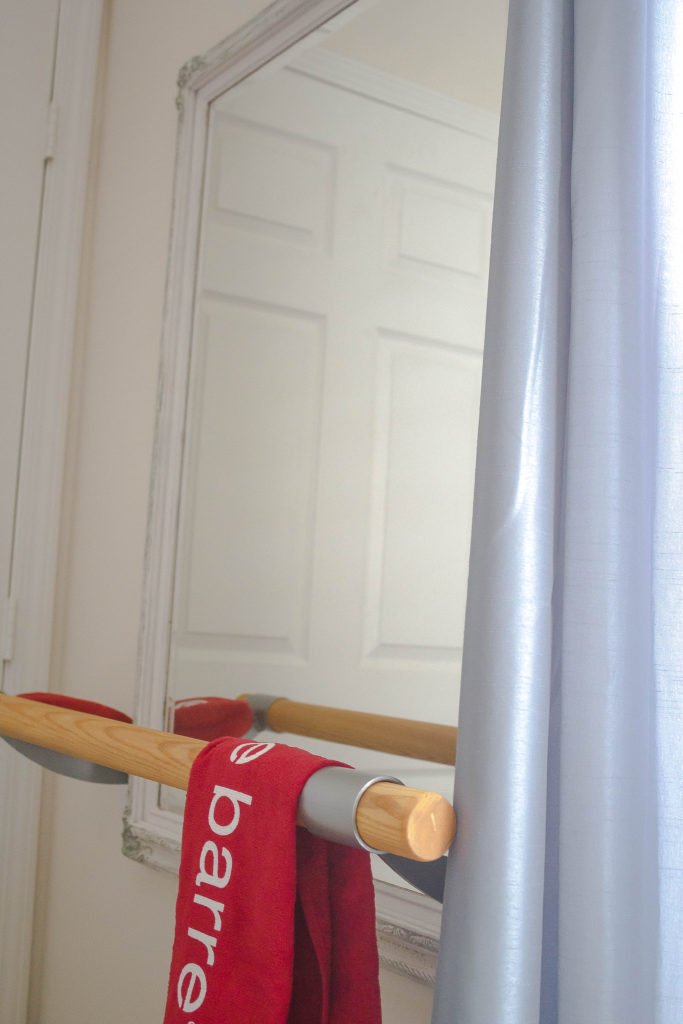
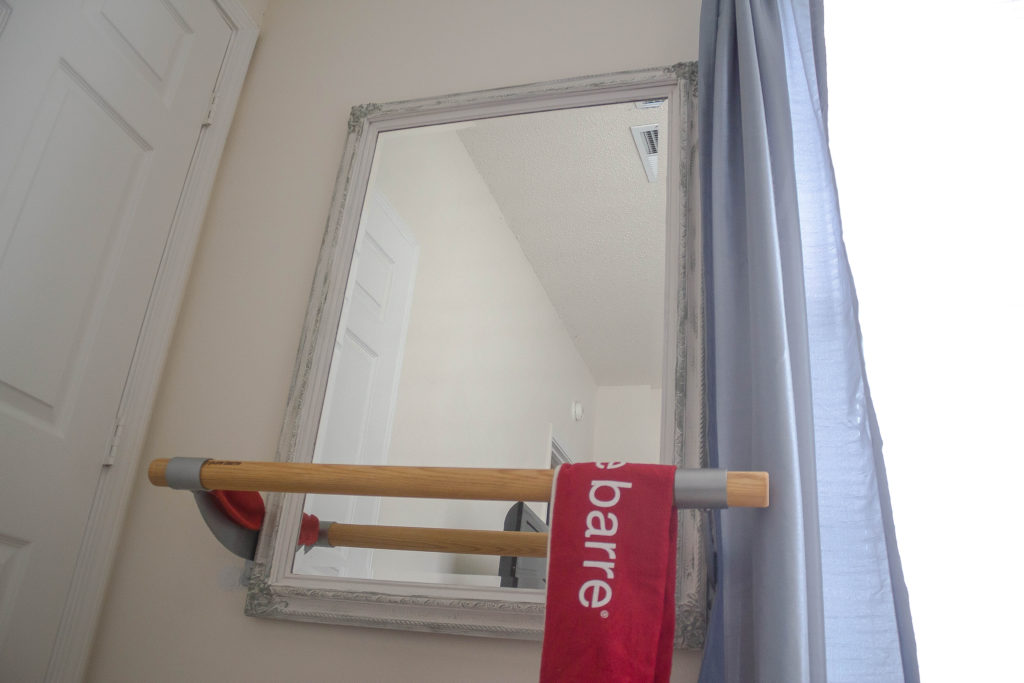
Hang the mirror and viola!
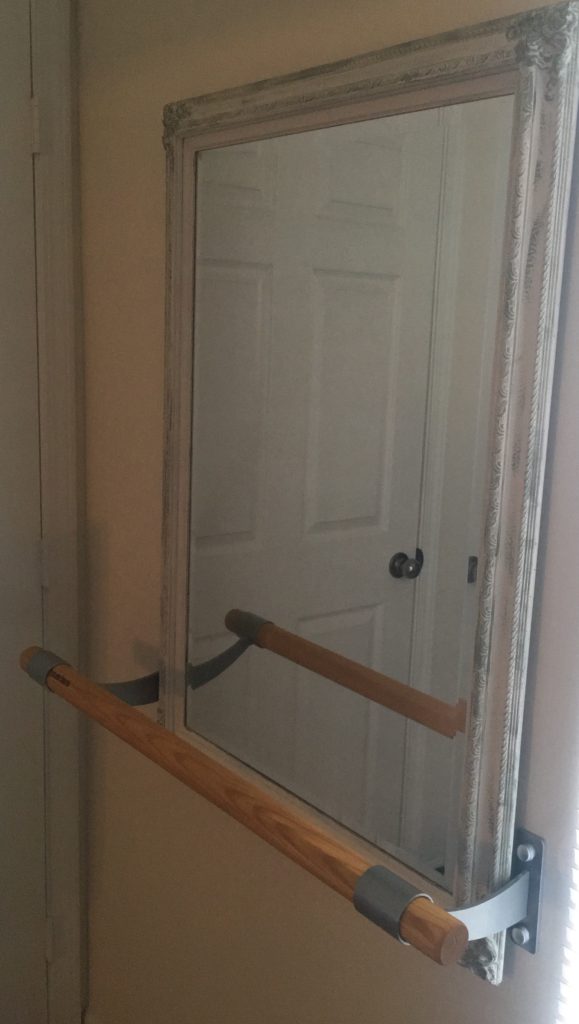
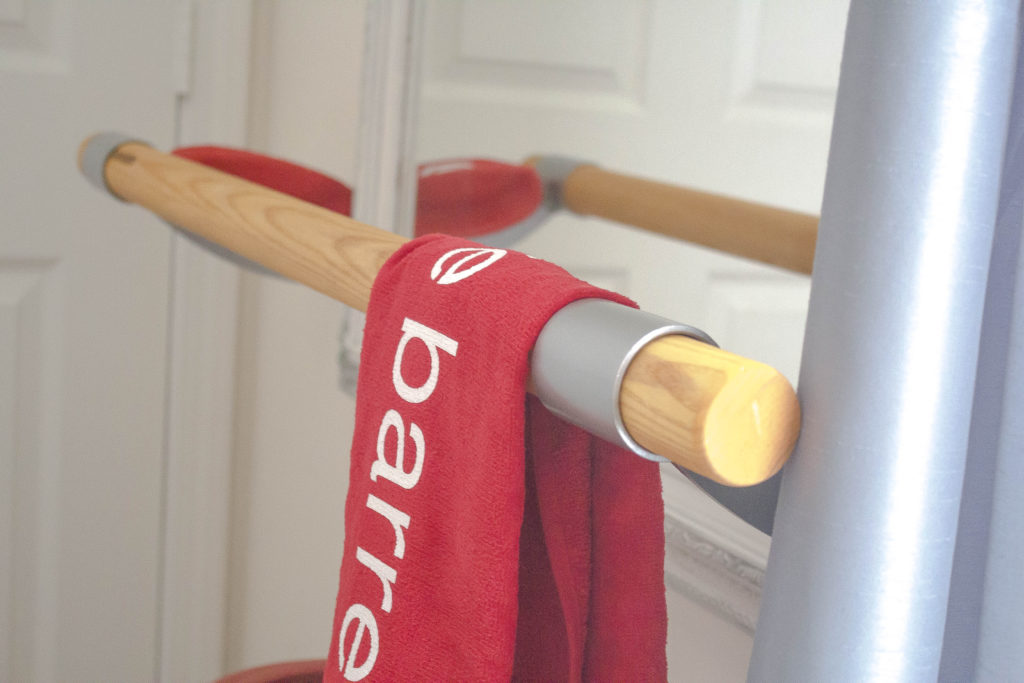
I am absolutely loving this barre! It fits perfectly in the small space in our room beside our window!
To keep your barre in tip top shape, apply a thin coat of Linseed or Danish oil every 6 months.


It came out amazing! I’ve been thinking about making something like this for my daughter. She is still a little young for it but maybe when she is 3 I will do this in her room. I started ballet when I was 2 years old. I haven’t taken lessens in over 15 years but I really enjoyed it when I was younger.
You should!! I definitely wish I could’ve had one growing up!
This is so cute! I love it! 🙂 I love that mirror, what a steal! I have a few projects that I haven’t started yet because I’m waiting to find the perfect pieces at thrift stores 🙂 It’s hard to be patient, but it’s always worth it. It makes you feel so accomplished when you find awesome items for cheap!
Yes! There nothing like a good thrifted find